Are your kids enjoying the Nintendo Switch? Considering the console just launched, you may have allowed them to spend most of their time playing Breath of the Wild. But it’s been a few days now, so it may be time to start setting some ground rules — that’s where parental controls come in. You can either set them up on the console itself or through Nintendo Switch Parental Controls, an iOS and Android app that gives you a couple extra features such as setting time limits and monitoring Switch usage remotely. Here’s how to use both methods of parental controls.
Parental controls on the Switch
Implementing parental controls on the console itself allows you to restrict games by ESRB rating and age, block posting to social media, and communication with other users (once available).
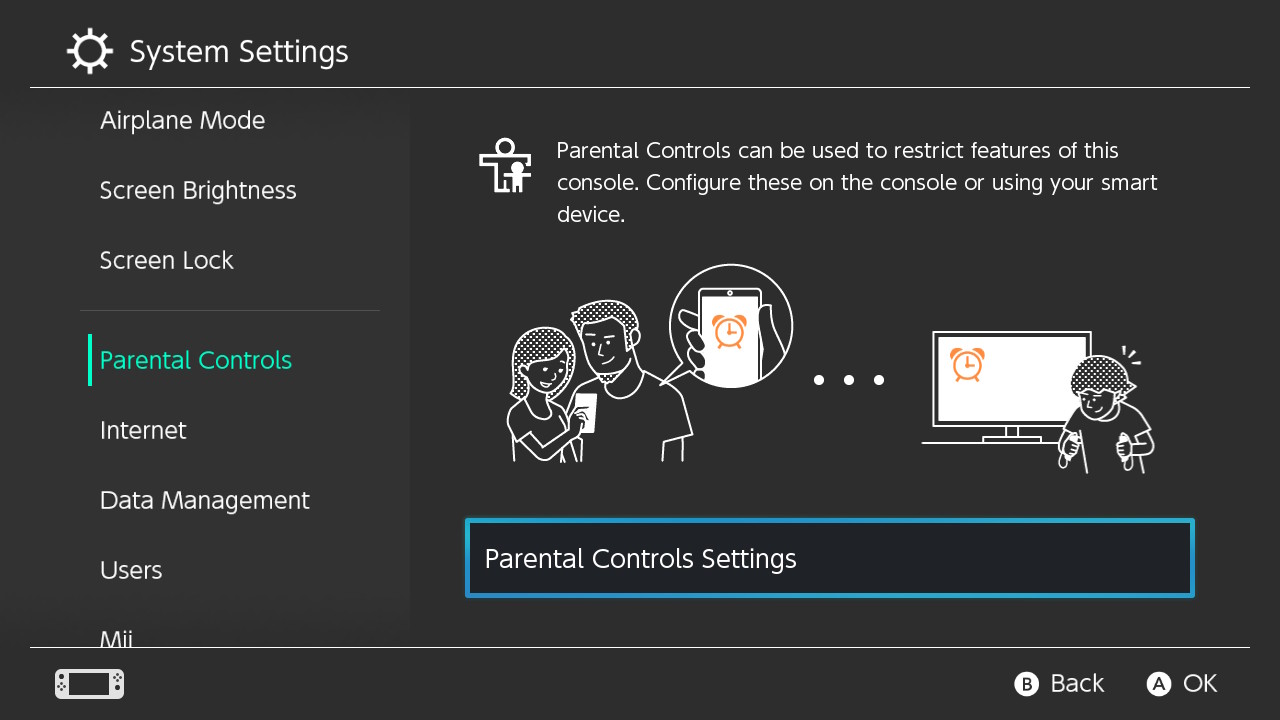
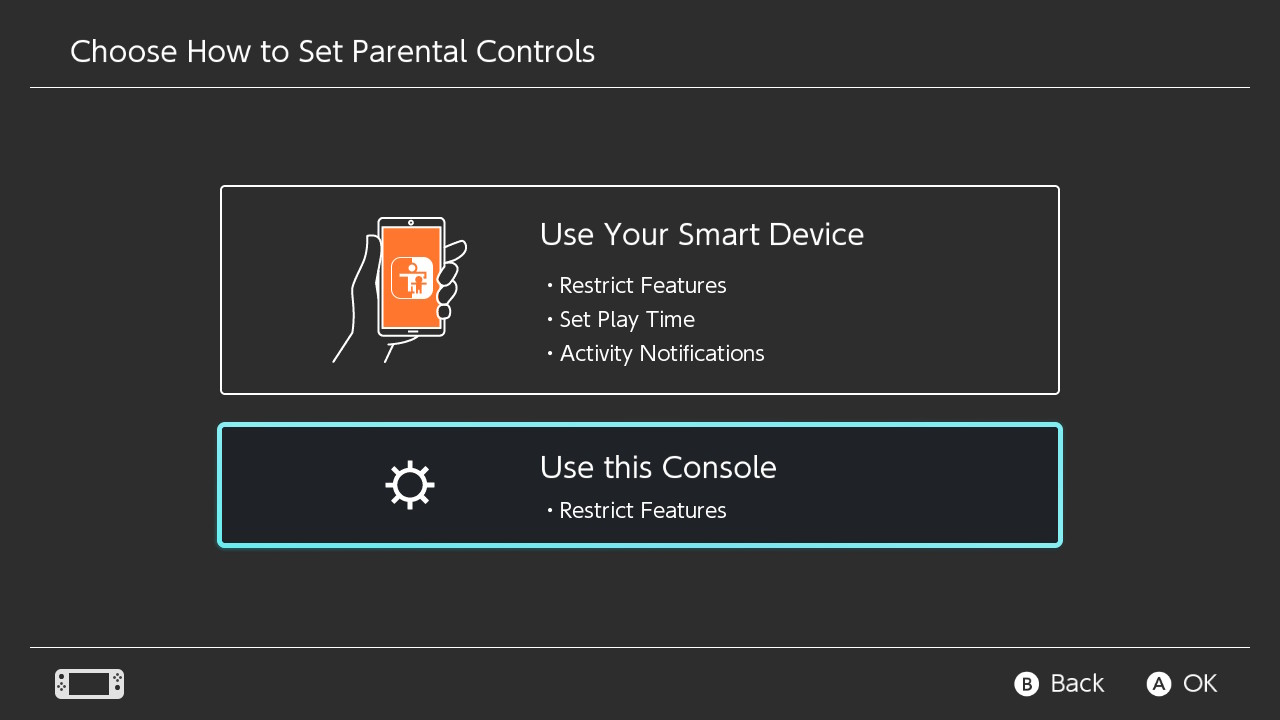
Parental Controls is the fifth option down in system settings. Once inside, you’ll want to choose Use this Console.
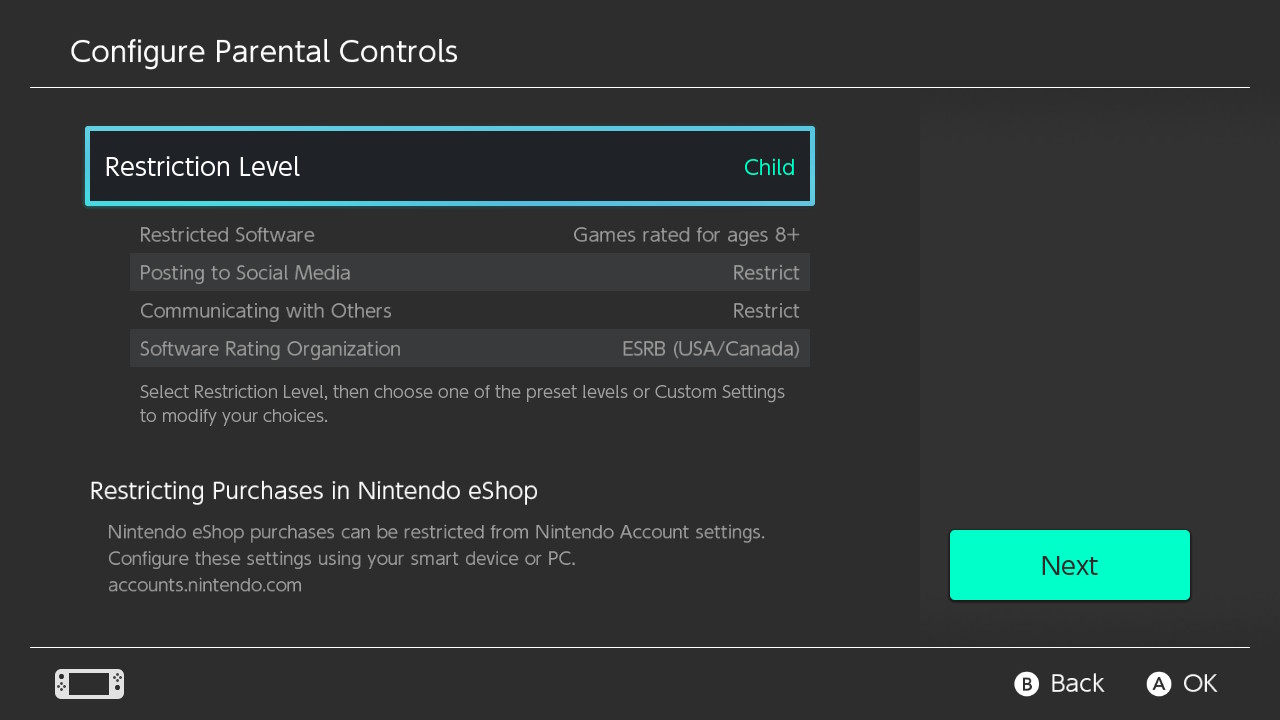
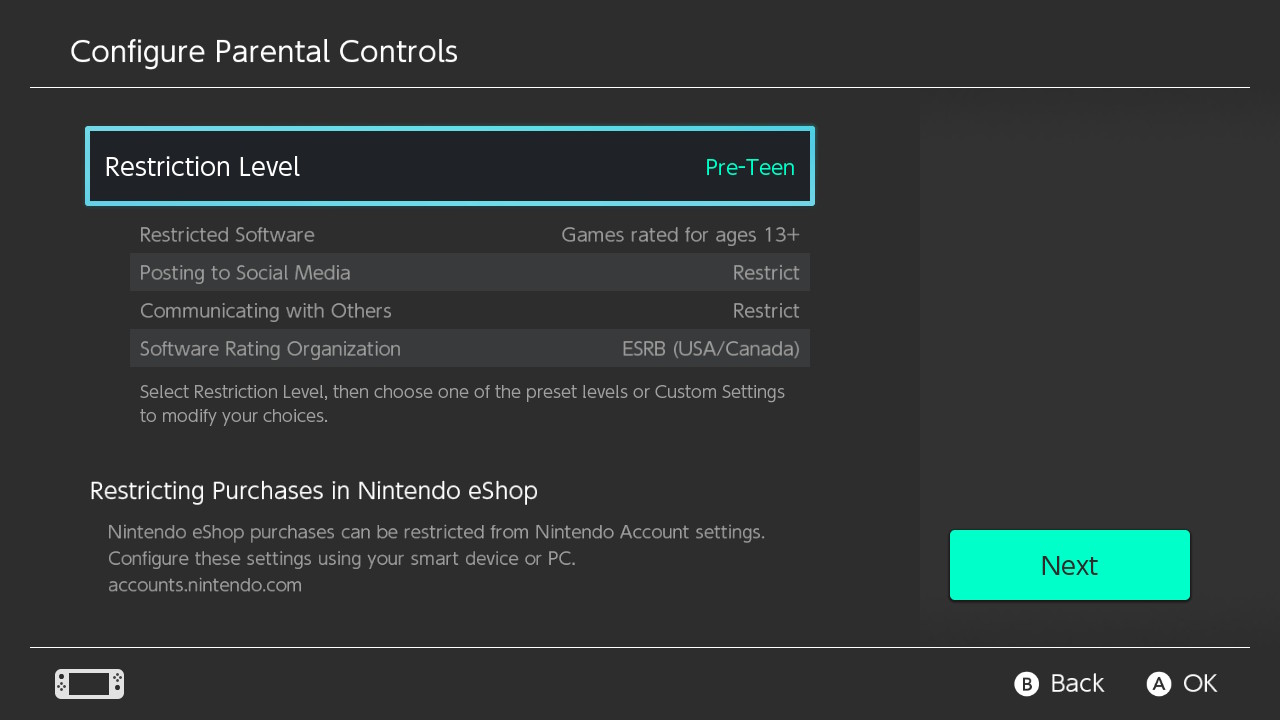
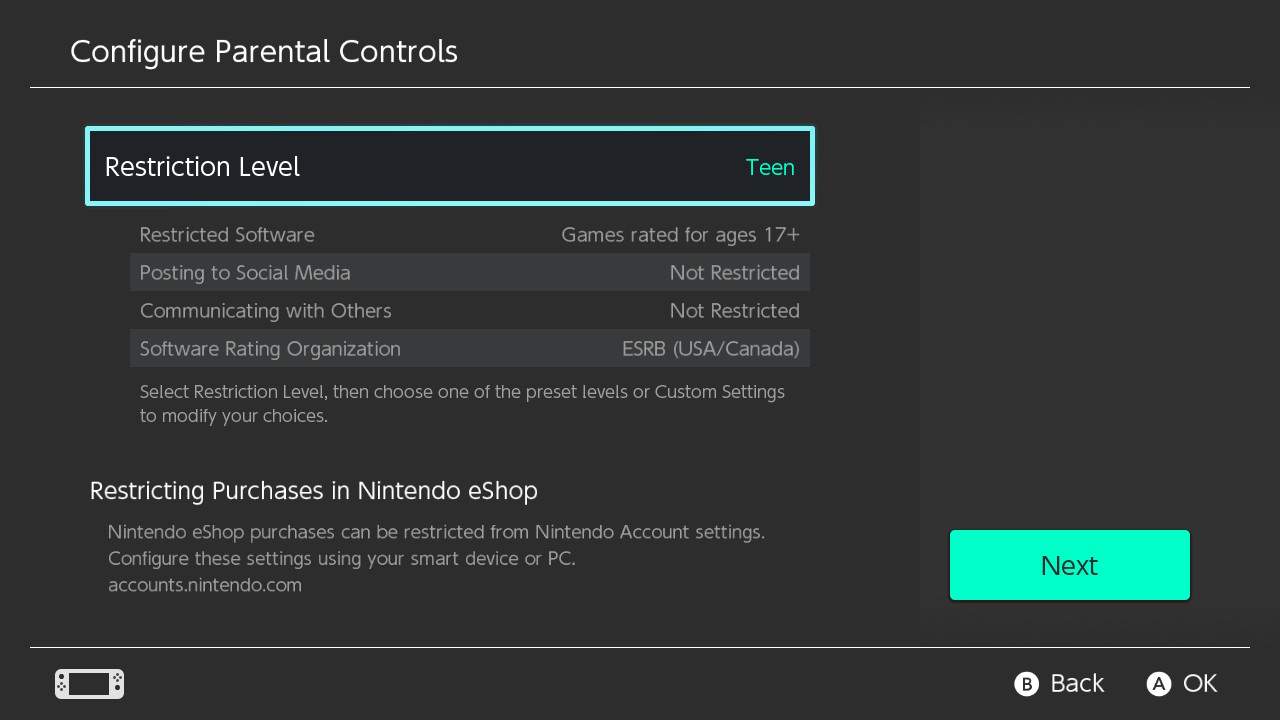
On the configuration page, you’ll see Restriction Level at the top and four content categories below it: Restricted Software, Posting to Social Media, Communicating with Others, and Software Rating Organization. By default, the ratings system is linked to your regional content ratings body, such as the ESRB in North America, but can be changed to reflect other, international ratings groups.

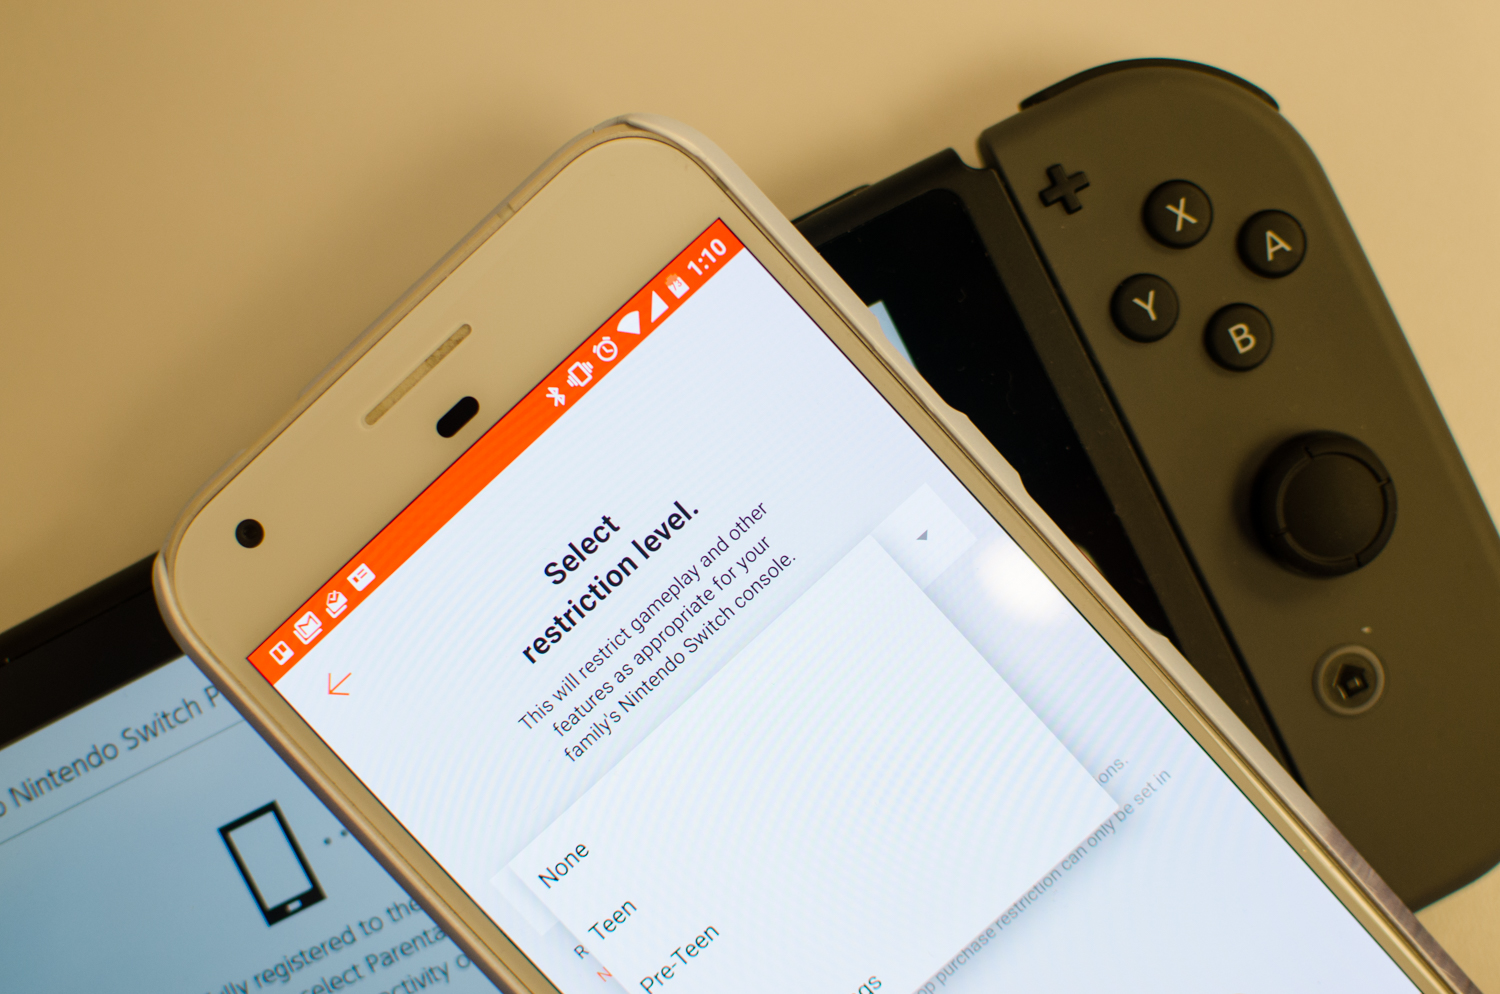
Click on Restriction Level, and you’ll have four options to choose from: Teen, Pre-Teen, Child, and Custom Settings. If you choose from any of the three preset levels, the four content categories will automatically adjust to fit Nintendo’s rating system. Choosing the child level settings will lock the Switch’s image sharing feature on social media, block communication features, and only allows games rated for 8-years of age and under to be played. The pre-teen setting offers the same restrictions, but raises the age limitations to 13. The teen setting is actually quite useless as the only restriction on games it places is for ones rated for 18 years and up — the infamous Adult Only rating scarcely used because many retailers won’t carry it, and Nintendo has never had an AO game on one of its platforms anyway.
There’s a chance that you’ll want to opt for the custom settings if your child is between the ages of 8 and 13. A number of Nintendo published games, including The Legend of Zelda: Breath of the Wild, receive Everyone 10+ ratings. If you don’t want your child to access games rated by the ESRB as Teen but still wish for them to play Link’s latest adventure, choose Custom Settings and adjust the Restricted Software category to Games rated for ages 10+. Make sure to also adjust the Posting to Social Media and Communicating with Others option as you deem fit since entering custom automatically reverts all settings to unrestricted.

When you’re finished choosing your desired settings click next and you’ll be prompted to enter and confirm a four-digit pin. When you go back to the home screen you’ll see a bubble at the top-center of the screen for Parental Controls. You can toggle the settings on and off by clicking on it and entering your pin. You can always go back and modify settings over time.

Erasing your settings on the Switch
If you no longer need parental controls, return to your settings. Press the X button on the right Joy-Con and you’ll be prompted to confirm the deletion. You can always tell if parental controls are stored on the system by checking for the bubble on the home screen.

Parental controls in the app
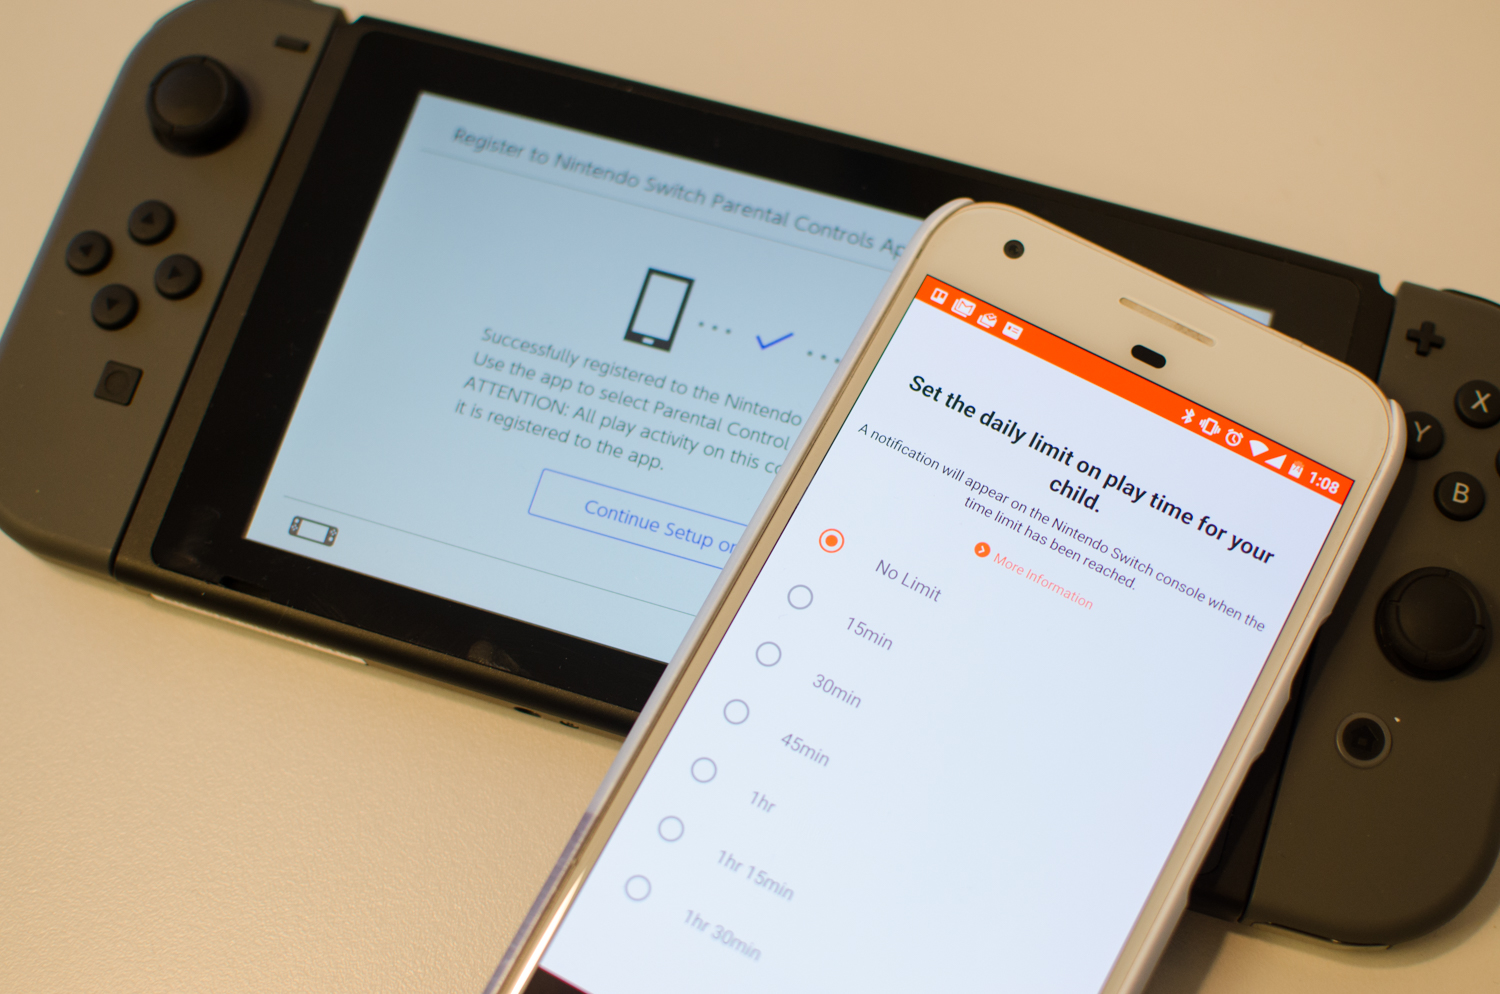
Once paired, you can set a daily amount of play time on the Switch — from only 15 minutes (which seems cruel) up to six hours. Like on the Switch itself, you can also restrict the ability to post screenshots from games to social media, share profile information, and chat with users (once that feature becomes available).
For the games themselves, you can set a restriction based on age group so that your children are not playing games you might deem inappropriate. The guidelines above apply here, too, as the app offers the same default age groups and custom settings.
Once you’ve successfully set your preferred parental controls for the Switch, you’ll get access to the default view of the app. Here, you can see how long your child has been playing on the Switch and which game, and you can check out a monthly summary as well. It’s also a neat way for anyone to check their Switch activity, though you may want to turn off all restrictions for yourself. The data is not logged in real time, but, instead, at several points during the day.
Slide over to the Console settings to change your app’s pin to something you can remember, or simply use the randomly-generated pin that’s provided.
